

A strong trend in websites for 2017 is authenticity.
This applies as much to website photos as to content. It’s your brand, your product, your service – if you take your own photos, your personality will come through. And as smartphones become more sophisticated, so does your opportunity to take your own website photos, without having to invest in special equipment.
So here are some top tips to get you started on taking your own website photos on your smartphone.
1 Get to know your phone.
Most smart phones have had good lenses for a while. But extra features are being added all the time to make the phone work more like a camera. These are three great tips I have picked up recently for my iPhone:
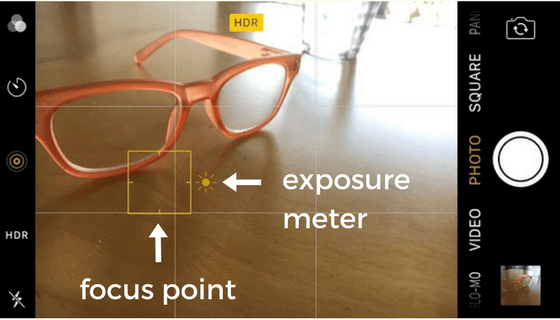
- tap on the screen to choose the focus point – if you hold your finger down for a couple of seconds, this will fix the focus point even if you move the phone around
- once you have fixed your focal point, you can slide the exposure meter to make a photo lighter or darker
- take a photo with the ‘+’ volume button – this means you can hold the phone with both hands and have less shake. Especially useful for landscape photos.
2 NEVER use your flash.
Flash light is UGLY!

Smartphones now can cope with a variety of light conditions. If you are taking photographs in your home or office, get to know the light conditions at different times of the day. Photograph by a window. Direct sunlight isn’t always what you want, but it is great bouncing off light walls. And make use of the exposure meter on your phone (see above).
3 Never zoom on your phone.
It gives you the illusion of getting closer, but you are effectively just cropping the photo before you have even taken it.

Take the photo, crop after.
4 Include some negative space in your composition.
If written content is going on top of a photo, make sure you have some space for it – writing cannot be read easily, however large or whatever colour, if it is competing with too much behind.

Make use of the grid feature on your phone for this – try to have either the left or right third with a relatively plain background. Here is a great article giving more tips on composing photos for websites.
5 Take landscape format photos.
In these days of Instagram, the square format can easily become the default on a smartphone. But for websites, you have to think Landscape. Desktops screens are landscape, and website photos need to look at their best on the largest screens. This format is especially useful for full-screen photos on a landing page.
If you take a photo in landscape, you can always crop a section in a portrait or square format, but it is much harder to do the other way round. (Try it!)
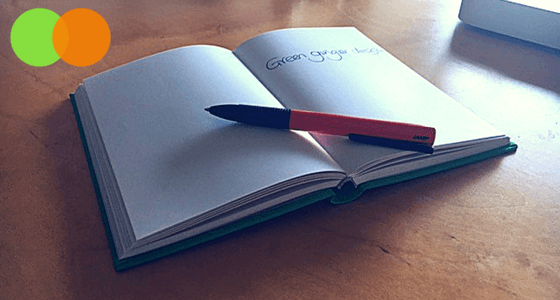
6 Include your brand colours.
Include details of your brand colour in your background shots as well as your product photos – I have plenty of green and orange stationery to use for mine!
Just as important: avoid colours that will clash with your brand colours will be used on other details of your website, so you don’t want your red Call to Action button clashing with a cerise pink pen.
7 Check the detail.
Photos for your website could be seen on high-resolution desktop screens, or even TVs, so details that you might not notice on Instagram will be all-too-visible.
When you have taken a photo, zoom right in to look at it. Fingerprint on the tablet screen? Get your cloth out. Plastic bag hanging on a railing in the background? Move the bag, or move your feet. (But don’t zoom!).
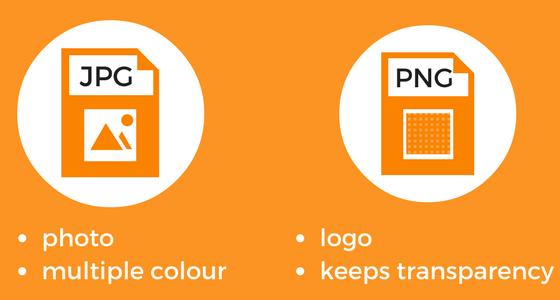
8 Optimise your website photos.
Large photos increase website loading time – a big no no.
Photos taken on a phone are usually over 2MB. The maximum size upload for an image on a WordPress websites is 1MB. The best way is to optimise your images before uploading – read about how to do this in my blog on Photography for Websites.
And for more detailed information about optimising images, read these tips on Shopify.
9 Keep snapping!
Take. Delete. Take. Keep. Experiment. Play. Enjoy. Make mistakes. Sometimes accidents produce the best results.
The more you take, the better you get.
If you’d like us to work with you on a new website, get in touch.
What are your tips for taking photos with your smartphone? Tell us below – we’d love to know!